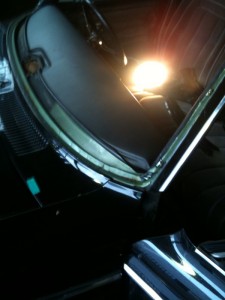
 CROWN Dash for MS50~56series. We made from start to replace old shrink ones! The new material used to avoid shrink by heat and sun like old original material. ofcourse you can't get new ones so we made them from start.
CROWN MS50~56 50系のダッシュボード、オリジナルのものは、日焼けで、中央が割れたり、両側からめくれあがっているものがほとんどですが、新品は当然手に入りません。そこで、現代の素材で見た目も形もそっくりになるように、作ったのがこちらのリプロのダッシュボードです。
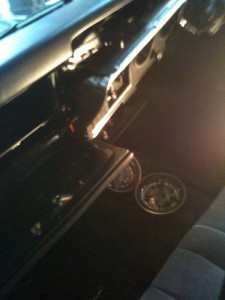 To replace this pad, we take old ones off to start.
The dash panels with meters has to come off and
Glove box and paded side panels too.
ダッシュの交換には、まず古いのを外すことから始まります。ダッシュパネルも外し、グローブボックスや両側の吹き出し口のついたパッドや、下側の長いパッドの部分も外します。
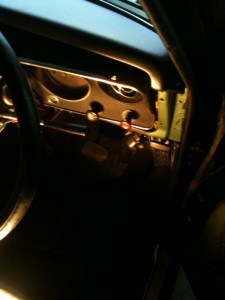 ダッシュを外して、リプロ品を載せたところです。
メーター・ダッシュパネルを付ける前に深く奥までパッドが付いているか、確認します。
Here is New repro dash board is palced on. The excess dash pad material will go in to opening for dash speed meter panels.
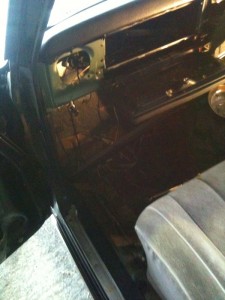 Here is left side, excess material goes into opening of glove box, covers left edge.
左側は、グローブボックスの開口部分に生地が入り、
左のはじは上から他の部品が来るので下に伸びています。
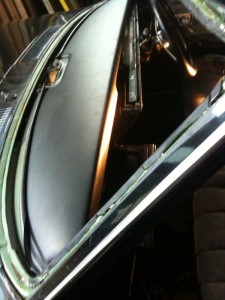 Here is how it looks after Pad is placed on and excess material is tucked into opening at inside. The peeled material rolls up at front side end. This excess material at front ends are to be grew on to metal panels.
こちらは、ダッシュを置いて、内装側の余分な生地が開口部分にいれこまれた後の状態です。上部の面は、前側に向いた面の余分な生地(画像では、丸まっている部分)を鉄板のダッシュ部分に糊づけしていきます。
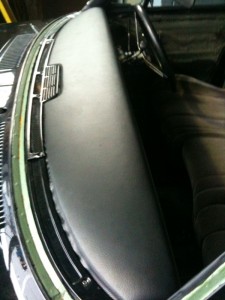 Here is picture after excess material grew on to dash board metal part and parts to hold between front windshield and Dash board is placed to show how it hides below them.
そしてこちらは前側の生地が糊づけされた後、フロントガラスとダッシュボードの間に入る部品を仮置きしたところです。ガラスが入ると黒い部品がすきまなく取付られます。
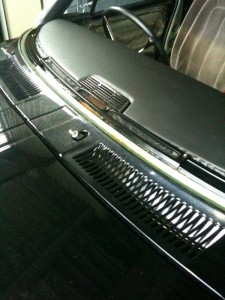 Here is waht it looks like with new repro Dash Board!
Nice isnt it !
そしてこちらが完成した前斜めからの角度です。
キレイ!気分も晴れてすっきりしますよ!
Thank You for reading! See you next week!
ご愛読ありがとうございます。それではまた来週!
CROWN Classics Dash Board: CC50DB

